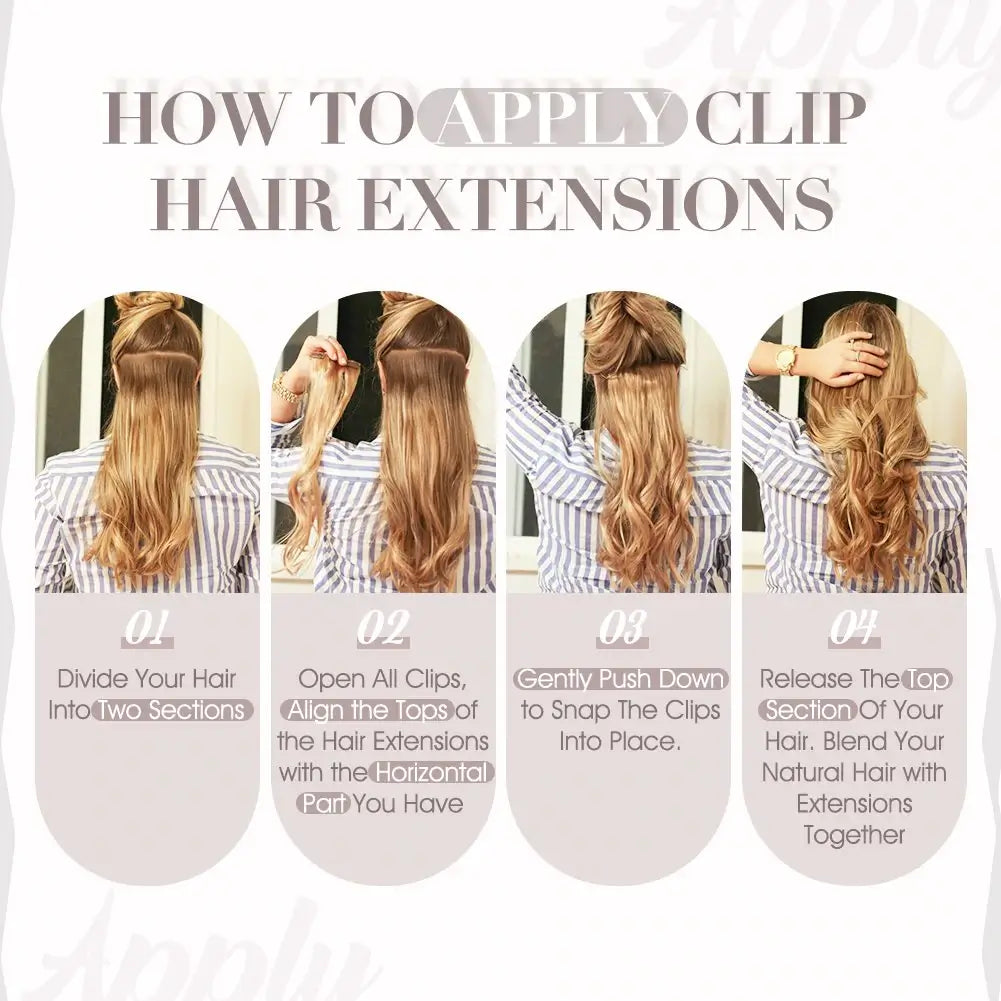
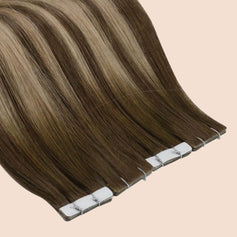

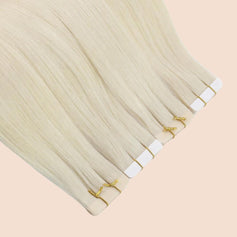


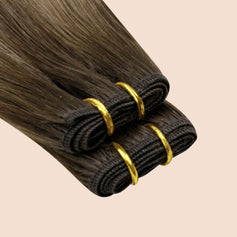


How To Install Clip In Hair Extensions
-
Prepare your hair: Start by preparing your natural hair. Comb or brush it thoroughly to ensure it's free from tangles and knots. You may also want to tease the roots slightly to provide a better grip for the clips.
-
Section your hair: Divide your hair into sections. You can use hair clips or hair ties to keep the sections separate. Create a section at the nape of your neck and clip the rest of your hair out of the way.
-
Open the clips: Take one of the clip-in wefts and open all the clips attached to it. Hold the weft at the top where the clips are positioned, with the teeth of the clips facing away from you.
-
Attach the first weft: Position the open clips against the roots of the sectioned hair, as close to the scalp as possible. Snap the clips shut by pressing them together. Make sure they feel secure and are gripping your natural hair firmly.
-
Repeat with additional wefts: Release another section of your natural hair and repeat the process with the next clip-in weft. Work your way up from the nape of your neck to the top of your head, attaching the wefts one by one. For best results, attach the wider wefts at the back of your head and the smaller wefts at the sides.
- Blend and style: Once all the wefts are attached, carefully comb or brush your hair to blend the extensions with your natural hair. You can also use heat styling tools to curl or straighten the hair, but make sure to use a heat protectant spray and follow the recommended temperature settings for the extensions.
- Secure and adjust: Once the extensions are in place, gently tug on them to ensure they are securely attached. If you find any loose clips, reposition them and snap them shut again. Use a mirror to check the back of your head and make any necessary adjustments for a seamless blend.