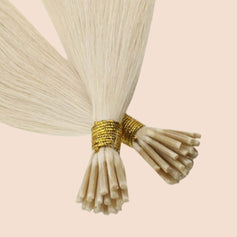
How To Install Micro Ring Hair Extensions
-
Prepare your hair: Start with clean, dry, and tangle-free hair. Use a comb or brush to ensure your natural hair is smooth and free from knots.
-
Section your hair: Divide your hair into small, horizontal sections using hair clips or elastics. Begin at the nape of your neck and work your way up towards the crown. Leave a thin section of hair at the bottom to serve as a foundation for the extensions.
-
Take a small section of hair: Release the first section of hair and take a small strand of your natural hair. The section should be slightly smaller than the micro ring.
-
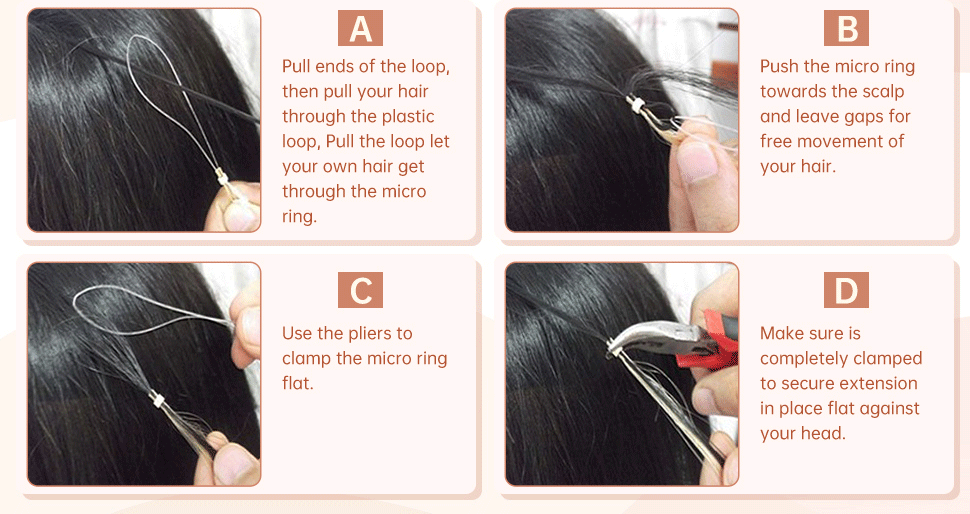
Thread the micro ring: Slide a micro ring onto a hair extension loop tool or a specialized threading tool. Ensure that the micro ring is open and ready to receive the hair.
-
Insert your natural hair: Take the small section of hair and thread it through the opened micro ring, positioning it close to the roots of your hair. Avoid pulling or tugging too tightly to prevent discomfort or damage.
-
Attach the extension: Take the pre-prepared hair extension strand, which has a small loop at one end, and insert it through the same micro ring that your natural hair is threaded through. Make sure the loop is securely positioned inside the micro ring.
-
Secure the micro ring: Hold the micro ring firmly between your fingers and use a pair of micro ring pliers to clamp the ring shut. This will secure both your natural hair and the extension in place. Ensure the ring is closed tightly but not too tight to avoid discomfort.
-
Repeat the process: Release the next section of hair and repeat steps 3 to 7 until all the desired extensions are installed. Work your way up towards the crown of your head, maintaining even spacing between the extensions.
-
Blend and style: Once all the extensions are installed, gently comb through your hair to blend the extensions with your natural hair. Style your hair as desired, taking care to avoid excessive tension on the extensions.
