


Table of Contents
If you’ve been scrolling through hair extension TikToks or hanging out in beauty Facebook groups lately, chances are you’ve seen people raving about Butterfly Weft Extensions. They’ve been creating quite a buzz — and for good reason!
But what exactly are they? And why are hairstylists and beginners alike calling them the next big thing in the world of wefts? Let’s dive into everything you need to know about Butterfly Weft Extensions, plus a step-by-step installation guide you can follow at home (or bring to your stylist).

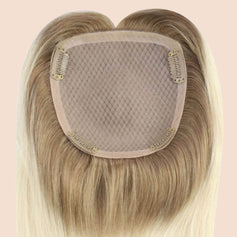
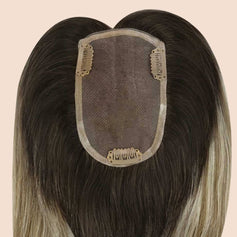
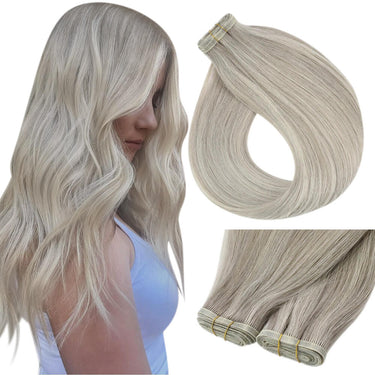
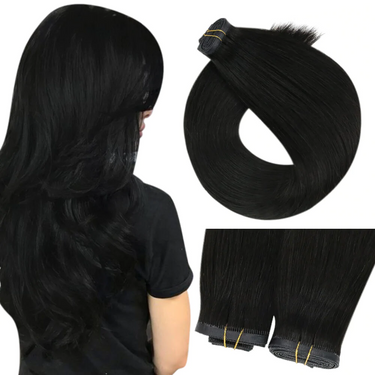
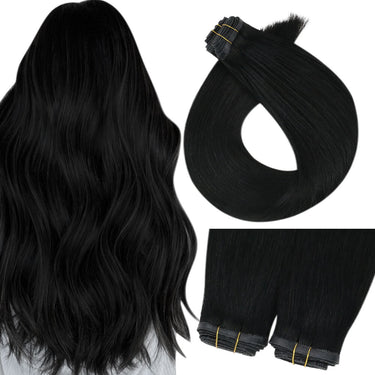
What Are Butterfly Weft Extensions?
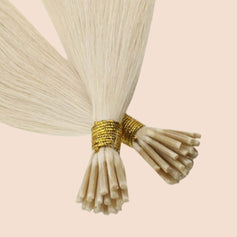
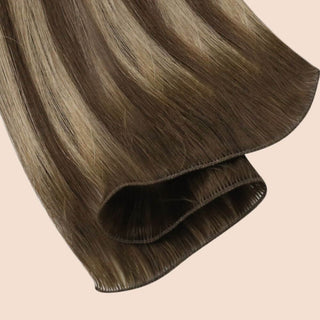
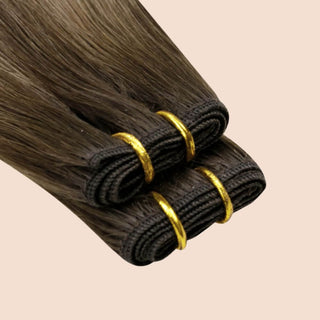
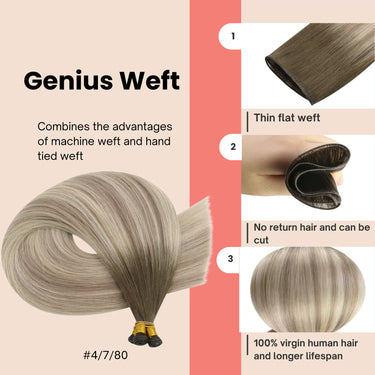
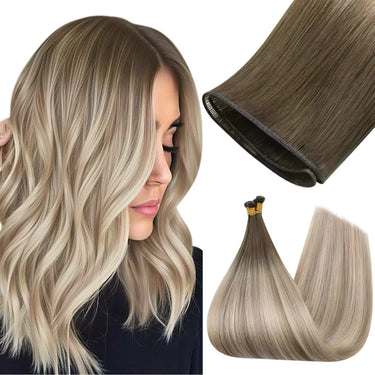
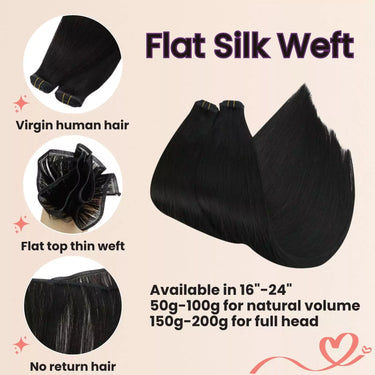
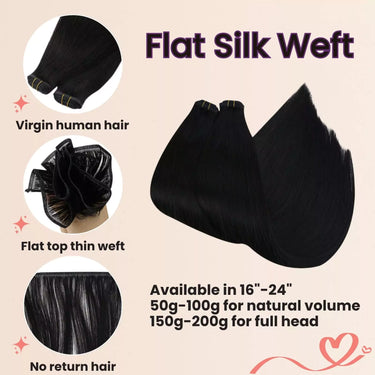
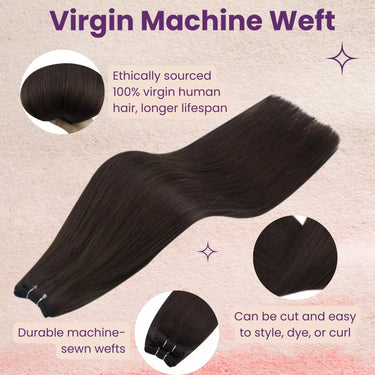
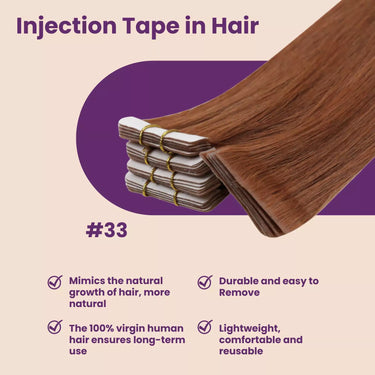
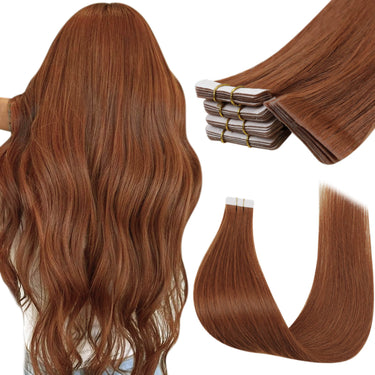
The Butterfly Weft is a new generation of weft extensions designed to make installation easier and more comfortable. Unlike traditional machine wefts or hand-tied wefts, the butterfly weft features tiny, pre-punched holes along a double-sided base🦋.
One side — the injection base side — is smooth and invisible, making it lay super flat against your scalp. The other side — the PU side — provides a secure surface to attach beads or thread, keeping the extensions in place without glue or sewing.
Basically, it’s designed for people who want that professional, seamless look but without the hassle (and cost) of salon-only application methods.

Why Choose Butterfly Weft Extensions?
Here’s why butterfly weft extensions are quickly becoming a fan favorite:
- Beginner-friendly: Those tiny holes make installation super simple — no complicated sewing or glue needed.
- Lightweight & comfortable: The weft sits flat and flexible, so it feels natural and doesn’t pull on your scalp.
- No return hair: That means no short hairs poking out and no tangling issues.
- Freely cuttable: You can trim it to perfectly fit your head shape.
- Damage-free: Since you’re not using glue or heat, it’s much gentler on natural hair.
- Reusable: With proper care, you can reinstall the same weft multiple times.
- Whether you’re a stylist or a total beginner, the Butterfly Weft offers an amazing blend of ease, comfort, and professional-level results.

How to Install Butterfly Weft Extensions: Step-by-Step Tutorial
Alright, now let’s talk about how to install butterfly weft extensions.
If you’re new to extensions, don’t worry — this process is straightforward and beginner-friendly.
Step 1: Section Your Hair
Start by parting your hair horizontally around the back of your head. Clip the upper section out of the way so you can clearly see your working area.
👉 Tip: Keep your section clean and even for the best results.
Step 2: Place the Beads
Using a loop tool or fish line tool, pull small strands (2–3 pieces of natural hair) through each micro bead. Space the beads evenly along the row.
Step 3: Attach the Weft
Align the Butterfly Weft so that the pre-punched holes match your bead placement. Slide each bead through a hole in the weft, making sure the PU side faces inward for grip and the injection side faces outward for a natural finish.
Step 4: Clamp the Beads
Use pliers to gently clamp each bead, securing the weft in place. Don’t press too hard — firm but gentle pressure is enough to hold it securely.
Step 5: Blend & Style
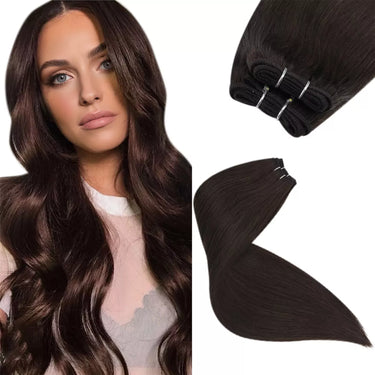
Once installed, release the top section of your hair to cover the weft. Comb through and style as desired — straighten, curl, or wear it natural.
And that’s it! You’ve just installed Butterfly Weft Extensions like a pro. 🦋

Aftercare Tips
To keep your butterfly weft extensions looking flawless:
- Wash with sulfate-free shampoo and use lightweight conditioners.
- Avoid applying heavy oils or products directly on the PU base.
- Brush gently with a loop brush or wide-tooth comb.
- Get your wefts adjusted every 6–8 weeks to prevent tangling and maintain comfort.
My Take: Are They Right For You?
Ok—so do I think you should go for them? Short answer: Yes, if you fit a few criteria.
If you want:
- Hair that looks natural, lies flat, and blends well
- A method that doesn’t involve obviously bulky rows or heavy tape or glue
- The flexibility to customize and trim the wefts
- Something a bit easier to live with and maintain than older heavy-weft methods
…then butterfly weft extensions are absolutely worth considering.
On the flip side:
If you’re looking for the fastest possible DIY install without any help, you might still want to pick from super-simple clip-ins or tape-ins first.
Butterfly Weft Extensions FAQ
Q: Are butterfly weft extensions suitable for thin hair?
Yes! Because they’re lightweight and flexible, they work beautifully on fine or thin hair without causing extra tension.
Q: Can I reuse my butterfly weft extensions?
Absolutely. With proper care, you can reinstall them multiple times.
Q: Do I need professional help to install them?
Not necessarily! They’re one of the easiest wefts to apply at home. But if it’s your first time, watching a few tutorials (or visiting a stylist once) caith proper care.
Q: Will they damage my natural hair?
A: Not inherently. Because they use no glue/tape (in many cases) and lie flat, they can be gentler on your hair than some older methods. But installation matters. If done poorly, or if you skip maintenance, any extension type can cause damage.
If you’re looking for extensions that are comfortable, customizable, and easy to install, Butterfly Weft Extensions are definitely worth the hype. They blend invisibly, feel natural, and can be reused again and again — giving you gorgeous, effortless hair without the stress.
So go ahead — spread your wings and give Butterfly Weft Extensions a try. You might just find your new favorite way to wear extensions. 💕


